
I'd had the recipe for these totally scrummy little pieces of deliciousness for a few weeks but either the butter kept being eaten before I could get to it, or we were too busy, or I just ran out of spoons (see the definition of the Spoon Theory here).

I'm not sure why, but I was under the impression that it was likely to be a bit of a long process to make the bars. I'm scratching my head about this, because it really was the simplest thing! In fact, the hardest bit was doing the maths to halve the recipe. The original recipe is here, but I've reproduced it below as I've made it a bit less American and this is the halved version. If you've got two baking tins, then by all means make the full version as for sure they won't stay around for long! However, know that they don't keep well. You need to not seal them into whatever container you're planning on keeping them in, as they will soften very quickly. Hence it is not worth making loads, if you're not going to be able to eat them all.
Just as an aside, I loved the fact that I could step out of the kitchen door and pick two rhubarb stalks from our plants, wash them, chop them and bake them. Now it doesn't get much fresher than that.

So apart from knowing that the end result was delicious - after all, they'd been recommended - I had no clue as to how they would end up. Would the base be hard, or soft? Would the top be crumbly or spongey? So it was a voyage of discovery that only made sense as I was creating them. Of course, the base is very similar to a shortbread recipe, so naturally it comes out of the oven crisp and smelling deliciously buttery. I wasn't sure how the fruit layer would react to meeting the hot base, but baking magic happens and it all does what it should, winding up with a gorgeously soft from the fruit juices and crusty from the oven, sweet and deliciously rhubarby top layer.

Have I sold you on the idea yet?
 |
| The mix for the top layer. Unassuming, isn't it? |
Because the recipe originates across the pond, measurement is in cups. It really isn't a difficult thing to get hold of a set of cup measures, so I've left it as is and not twisted my poor old melon any further in trying to convert them.
I used salted butter for the base as I think the mixture needs the salt to bring out the best flavour. By all means use unsalted butter though, if that's your thing.
Make sure to slice each rhubarb stalk thinly (not paper-thin, obviously) as this helps the fruit layer to not become waterlogged with juice. The smaller pieces cook quickly and a degree of the water is evaporated during the cooking process.
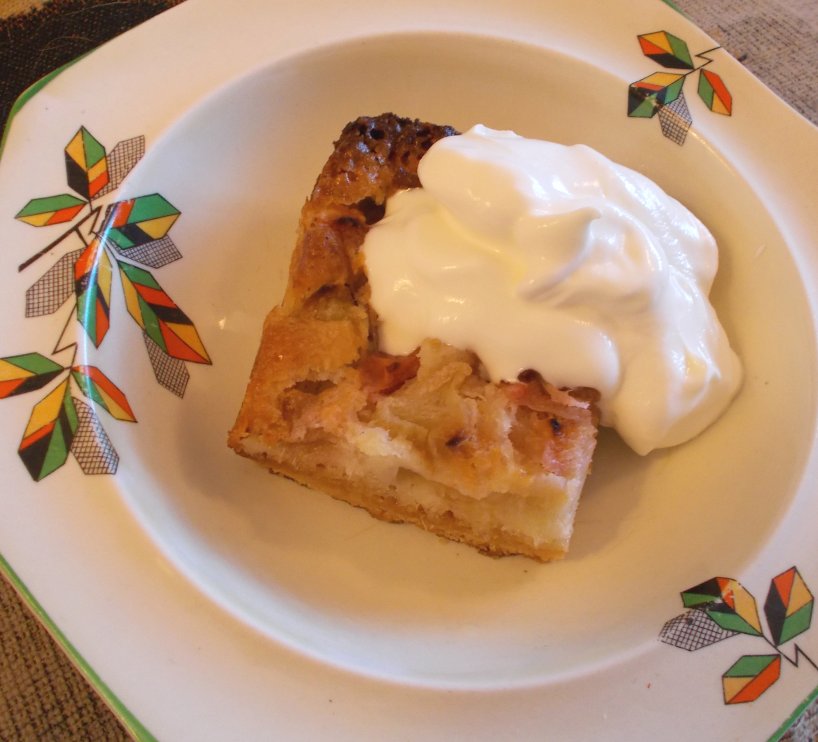 |
| For dessert, with gorgeous Greek yoghurt |
RHUBARB DREAM BARS (makes 12)
Ingredients :
For the base
1 cup plain flour
a scant half cup of icing sugar
half a cup of butter.
For the fruit layer
2 large eggs
three quarters of a cup of caster sugar
one quarter of a cup of self raising flour
half a tsp of salt
2 cups rhubarb, finely sliced.
Method :
1. Line a 8" square baking tin with parchment paper so that the paper extends beyond the sides of the baking tin (to make it easy to remove the cake) and lightly grease with butter.
2. Add the flour, icing sugar and butter for the base together in a food processor and whizz until thoroughly mixed and looking like fine breadcrumbs.
3. Tip the mix into the baking tin and press firmly with the back of a spoon until the base is smoothly covered.
4. Bake in a pre-heated oven at 180degC/350degF/Gas4 for 10-15 minutes or until golden brown.
5. While the base is baking, mix up the fruit layer. Place the eggs, sugar, flour and salt into a bowl and beat until well blended. Add the rhubarb and mix through.
6. As soon as the base is baked and removed from the oven - and while it is still hot - pour the fruit layer on top and quickly level it.
7. Replace into the oven for another 35-40 minutes.
8. Cool and cut into 12 bars.
Serve with a cup of tea, or with clotted cream, ice cream or custard, for a yummy dessert.


No comments:
Post a Comment
I love to receive messages from you all, so if you can spare the time, comment away!